Wood Cook Stove Installation
Feel secure about what you are buying! With the help of the guide below you will be able to estimate exact installation costs, supervise your installers, or even do the installation yourself.
A wood cook stove is classified as a solid fuel burning appliance and has to be installed according to its manual if the stove is UL, Intertek, or CSA certified or according to the local building code for uncertified appliances if the stove is not certified. Most states have adopted the NFPA211 code as law for uncertified appliances. Using an uncertified stove is completely legal in most places but it has to be installed according to NFPA211. In practice this means higher clearances to combustibles (drywall, cabinets etc) if no heat shields are used. You can receive free access to this code here. The guide we have compiled describes all the steps of the installation process however please keep in mind that regulations can vary from state to state, so please check your local requirements before starting your project. Please do not rely on this guide as professional advice, this is purely for information purposes only.
1. Delivery and positioning.
The stove gets delivered to your curbside or driveway, not indoor. Due to size and weight of most stoves you will need 4 guys to lift it and bring inside. Please take off all removable parts (incl. the cast iron cook top, which is attached to the stove with a few screws) before carrying it, this will lighten your load and also prevent damages. If your stove has maiolica side panels we recommend removing them too, they simply slide off after you remove the top. Wrap the stove in a blanket to prevent scratches.
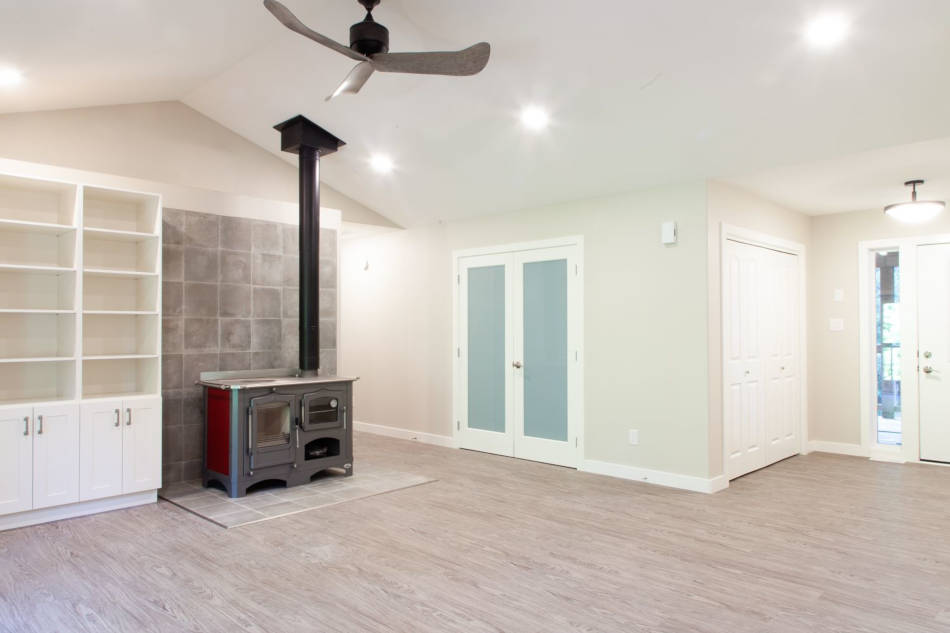
Once the stove is in the house you will need to find the right place for it. There are 3 main factors to consider:
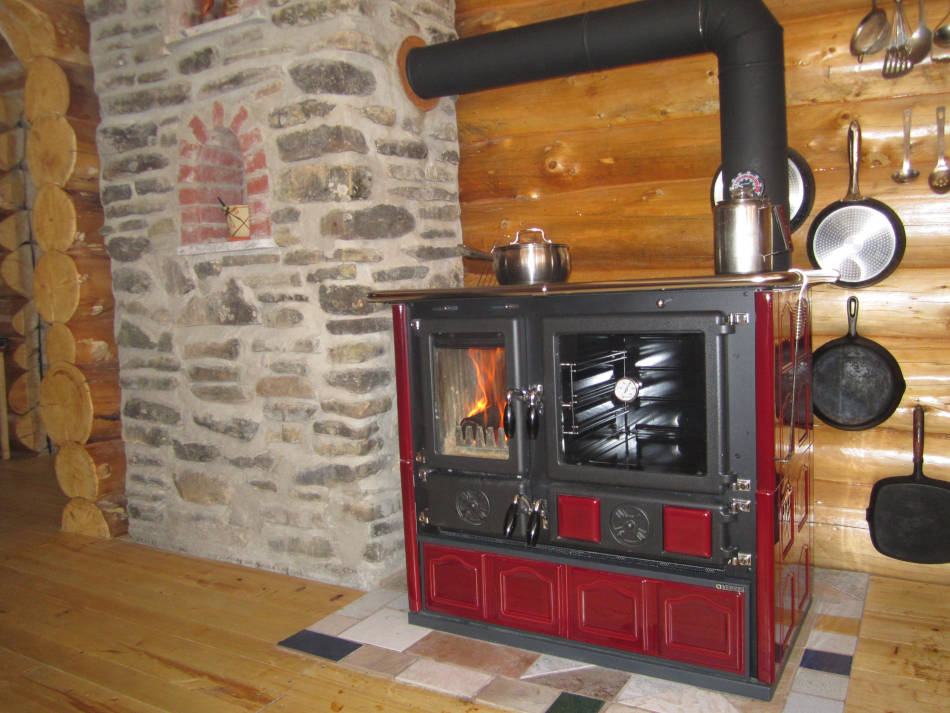
Clearances to combustibles. A major component of a safe installation is staying the required distance away from combustible materials such as drywall. If you have brick or cinder block walls this will not apply but there has to be nothing combustible even on the back side of the wall! NFPA's required clearances for cooking ranges are shorter than for regular wood stoves! At the time of writing they are 30” above the top, 36” in front, and on the sides and back it varies from 18” to 36” depending on which side (firebox or oven) and whether your firebox is lined with firebrick or not. Please consult your local building authority for the exact figures. Many of our stoves have firebricks in the fireboxes (America, Rosa L and Rosa XXL, Regina, Clasica, Vulcano) but some do not: Rosa Maiolica, Rosa Reverse, etc.
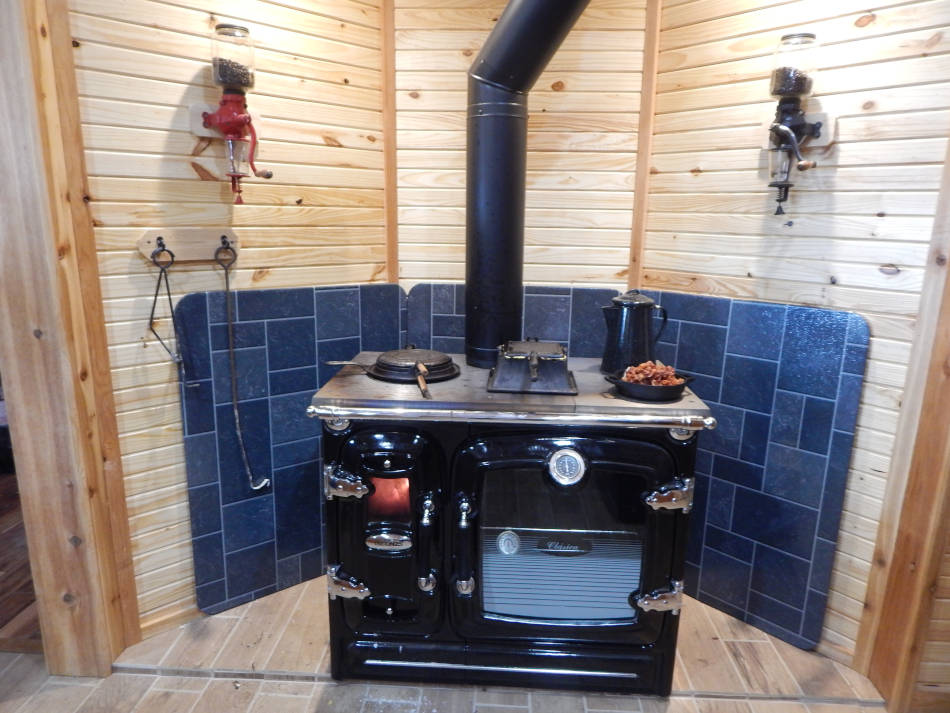
You can reduce clearance to combustibles down to 12” and install your stove in a more convenient way with the help of heat shields. These are shields which are mounted on the walls around the stove to protect them from heat. They are installed with the help of spacer kits which are mounted directly on the wall. The spacer kit ensures that there is at least a 1” air gap between the wall and the shield. You can use insulation board, 24 gauge sheet metal, or masonry to shield your walls from heat. NFPA211 contains a diagram which lists different materials and the resulting clearance reductions. You can also purchase a UL-approved heat shield and this should reduce your clearances by 87% but please check your local regulations first.
Hearth pad. More on this below but for now suffice it to say that if your floor is combustible you will need to cover an area of 18” on all 4 sides of the stove for floor protection.
Venting. Select a place for the stove where you know you can vent it – either through the roof or through the wall. Chimneys have their own clearance requirements (usually listed by the manufacturers) so make sure you have sufficient unobstructed airspace for your chimney. For the best draft it's important to have as few turns of the pipe as possible, select a location where the pipe will not have to use more than 1 elbow. More on venting below.
Heat. The above 3 are building requirements, however if you have a few suitable locations in your house then the obvious way to decide among them is where you need heat the most – both for cooking and heating. Remember, a cook stove is also a very powerful house heater! Any wood stove is a space heater – it heats primarily the clear space in its vicinity as opposed to other rooms. So if you have a big open area it makes sense to install the stove there and utilize the heat to lower your gas bills as opposed to putting it in a small closed room which the stove can overheat.
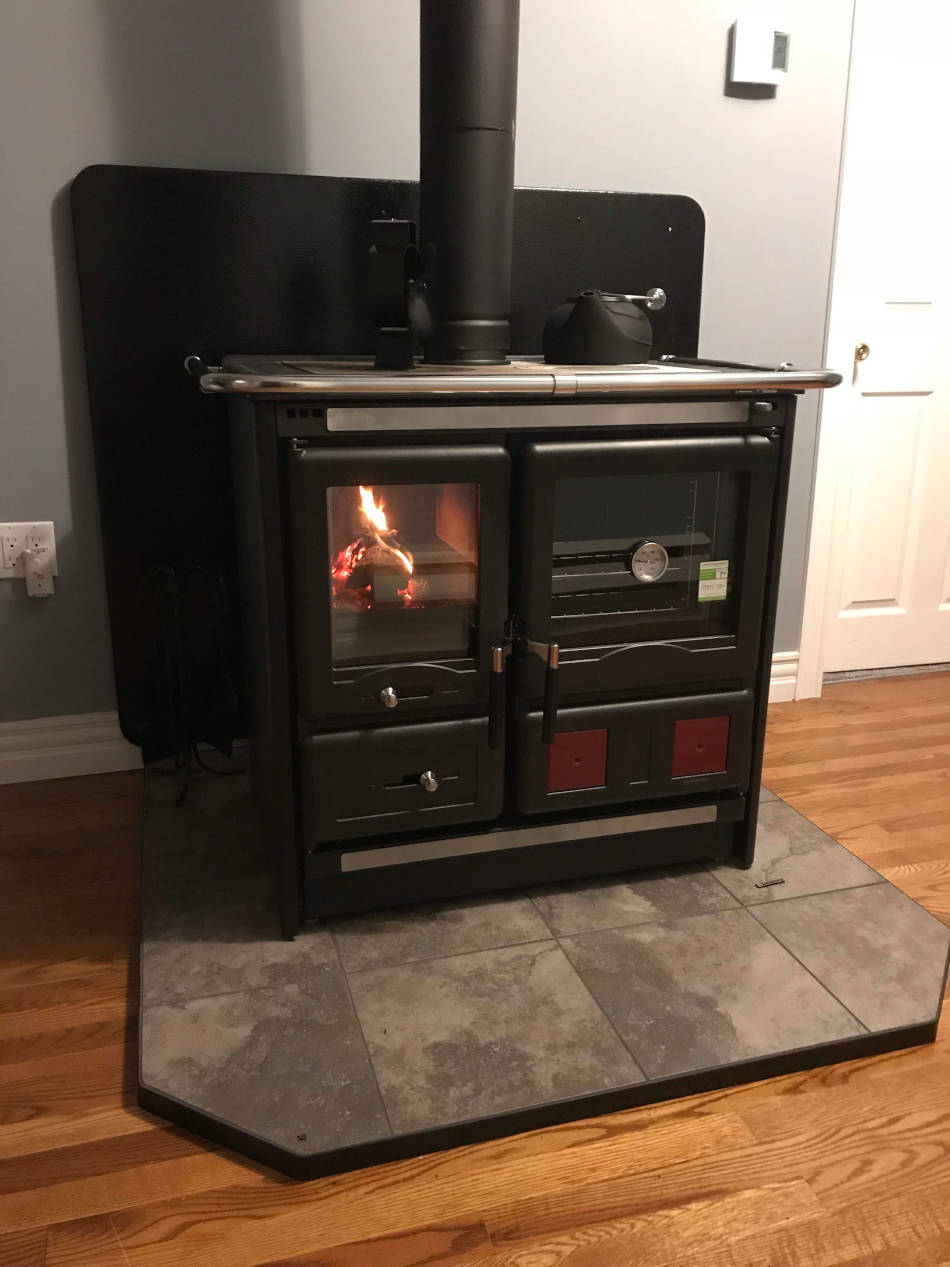
2. Hearth pad.
Once you have found your perfect spot you need a hearth pad if your floor is made from combustible material (hardwood, laminate etc). If your floor is concrete you can put the stove directly on top. Hearth pad protects your floor from both heat and hot coals & burning logs in case they accidentally fall out of the firebox. If you are building it yourself NFPA specifies a 2” thick masonry hearth pad covered with sheet metal extending 18” beyond the stove on all sides. You can build your own hearth pad from ceramic tile, porcelain, graphite, stone, marble or other non-combustibles tiles, or use a 24 gauge steel sheet. You can also buy a UL-listed hearth pad kit in which case there is no need for sheet metal.
3. Ventilation.
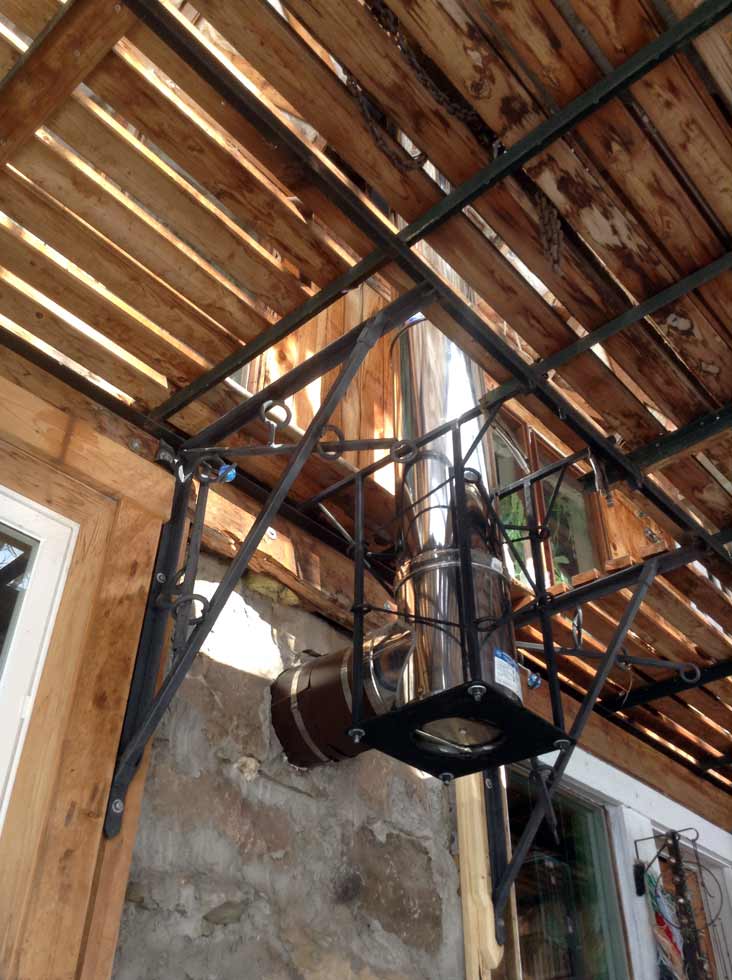
Once your cook stove is on top of the hearth pad you are ready to connect your chimney pipe to the stove and run it either through the back wall behind the stove or through the ceiling. La Nordica stoves have 2 options for chimney attachment: from the top or from the back, just move the included cap to whichever opening you want to plug. Venting is done the same way as for regular wood stoves: you will need roof flashing, adaptor, support box, storm collar, chimney cap, spark arrestor. If you would like to retain as much heat as possible from your stove use black stove pipe below the ceiling and stainless steel insulated chimney from the ceiling up (attic, roof). On the other hand if your primary objective is cooking and you do not want to overheat your space then use double or triple wall insulated pipe all the way from the stove up. However, in this case you will need an adaptor to connect a double wall chimney directly to the stove (because those chimneys are 8" on the outside). Both kinds of pipes have their own clearance requirements as noted earlier.

Now, if your stove is La Nordica or another stove from Europe chances are the stove's chimney collar is in Metric and is slightly smaller than the North American standard 6” pipe. If local regulations allow you can simply throw your pipe over the stove's collar, it will fit exactly. Smoke will not come out through the 0.12” resulting gap between the collar and the pipe. If you go this route we recommend closing the gap with fireplace cement or a gasket. You can also use a reducer, please see in the links below.
Once chimney is installed you are ready to cook! Thank you for reading and please jump to our Cooking page.